
This content uses Affiliate links. Please read my disclosure policy for more info.
I’ve said it before, like when I made my Dried Magnolia Wreath, that I’m always shocked at the price of pre-made wreaths. Even in my favorite discounted stores the sticker price seems very high to me.
There is no reason I can’t throw together my own wreath for my front door and you can too.
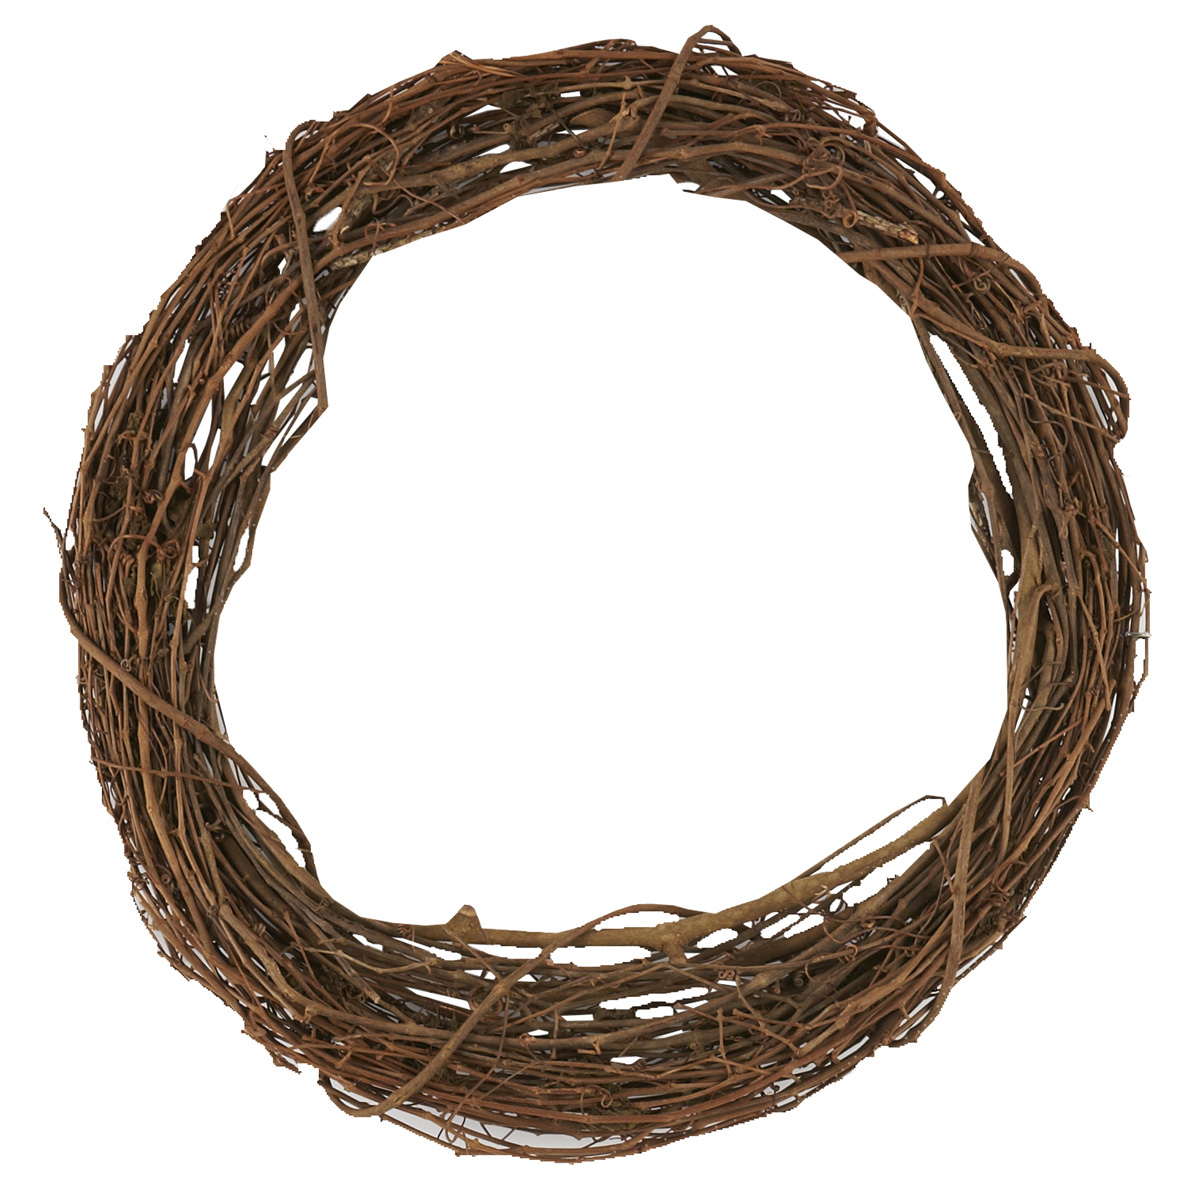
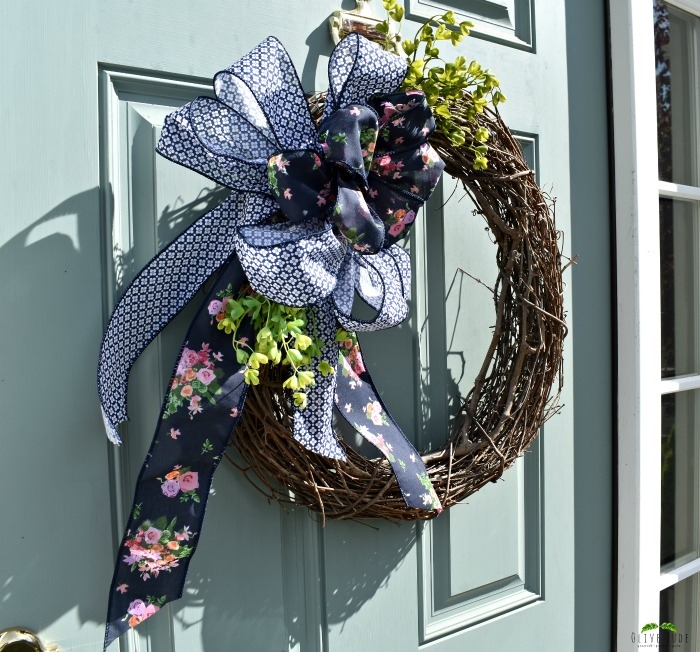
I keep a few different wreath bases in my basement. For this wreath, I am pulling out my 18″ Grapevine Wreath. I love the simplicity of this one and I love repurposing it again and again with the changing seasons. A little splash of color and my own personal touches and I will have myself some welcoming Spring door decor.
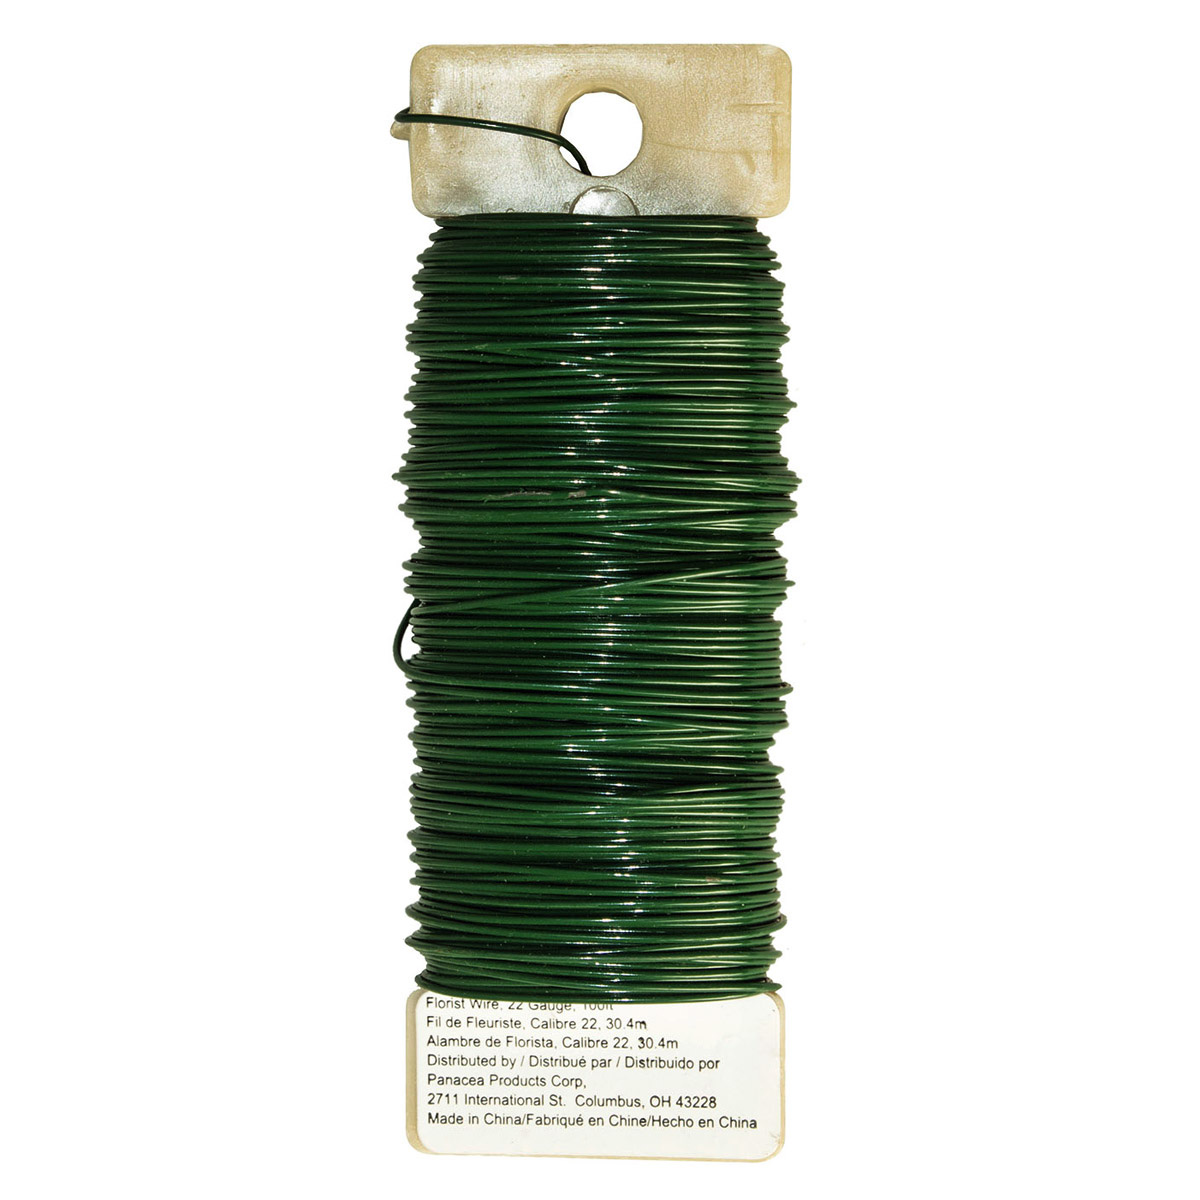
Really once you have your base in the size you desire, all you need is ribbon, some wire, and a stem or two of fresh or faux greenery. Find a ribbon that speaks to you. Find two ribbons that speak to you if you like. The bigger the better. I’m using two fabulous navy blue floral ribbons from Michaels that are both 2.5″ wide.
 Just make sure your ribbon has wired edges. You’ll appreciate the wire later.
I am not an expert at bow making…I usually just wing it and end up with a suitable bow. I whipped up a Simple No Sew Bow for my Christmas wreath, but for this one, I am looking to make a big loopy kinda’ bow and here’s how I do it.
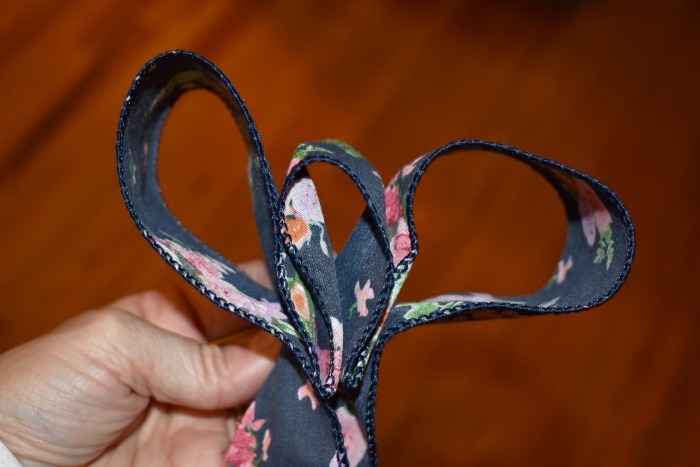
Start by folding a length of ribbon down the middle to create a small loop and pinch it with your thumb. This loop will be the inside center loop.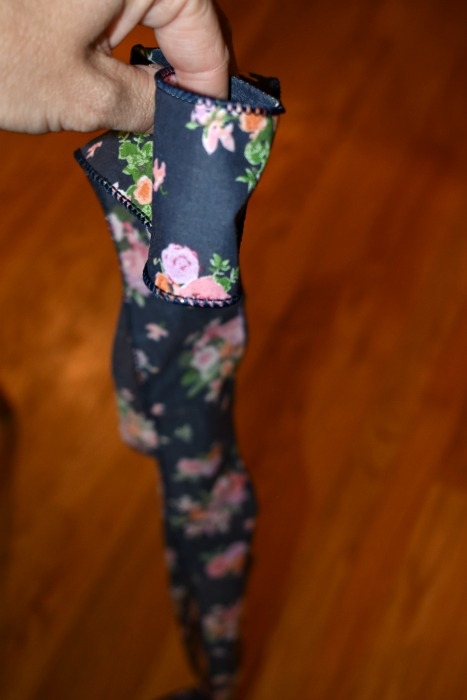 Next, take the ribbon and fold another loop, one that is bigger, to the right of the center loop.
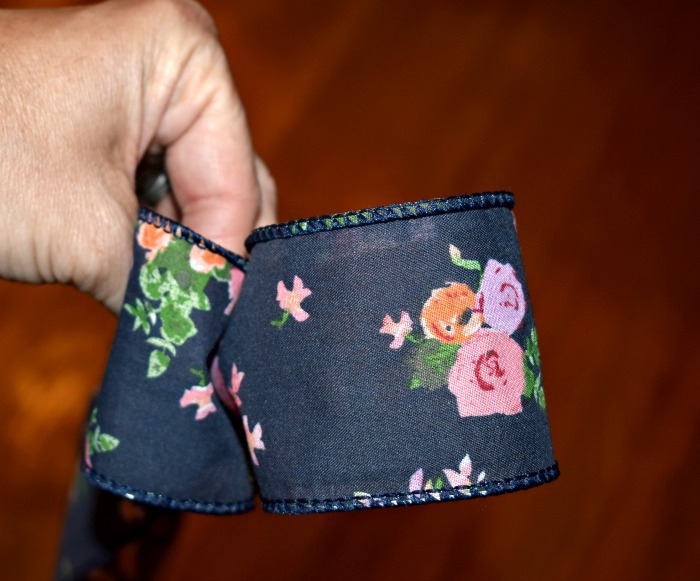 Do the same thing on the left side.
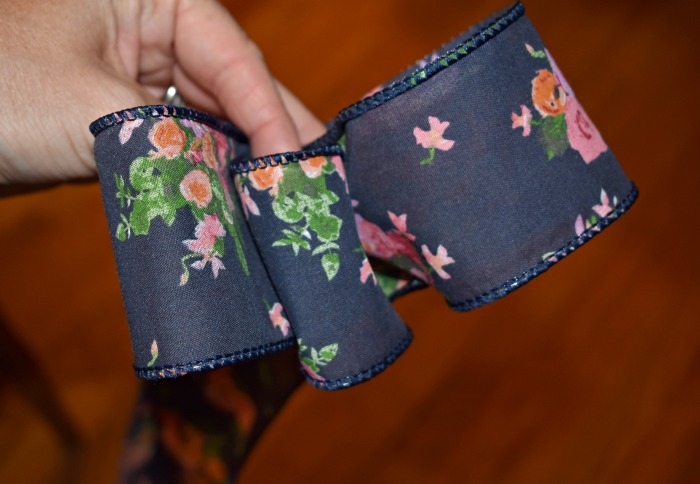
 Continue making loops that get a bit bigger on each side until you have the desired number of loops you want for your bow, but always go for an odd number of loops on the sides. Here, I am stopping with 3 on each side because I want to keep a ribbon tail on the bottom.
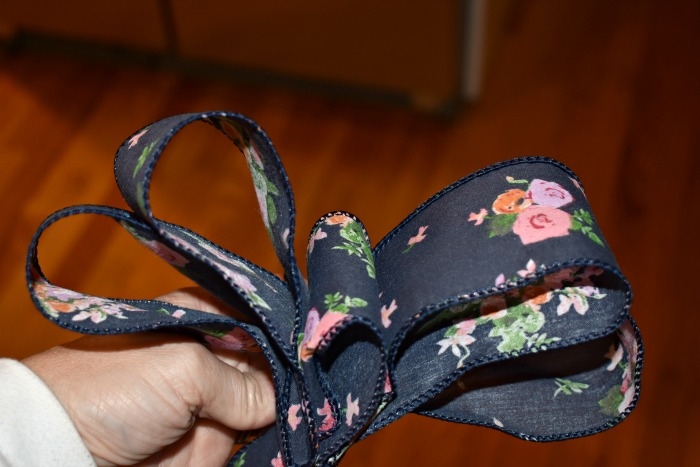
 If you are anything like me, you are going to have to restart this bow a few times until you get the hang of it. You’ll get frustrated and probably want to stuff the ribbon in the trash, call it a day, and head over to Target to buy a pre-made wreath.
But don’t. Going bonkers when you DIY is just part of the process. You got this. Keep going.
At some point, you’ll have a ta-dah moment and you’ll like what you made so, quick, grab the floral wire and secure it in the middle.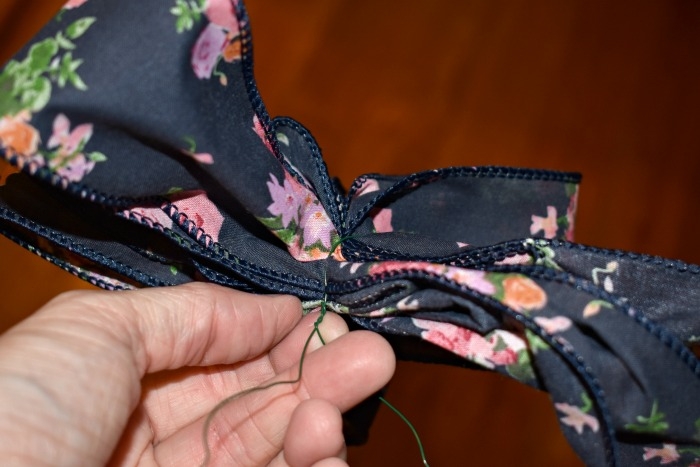
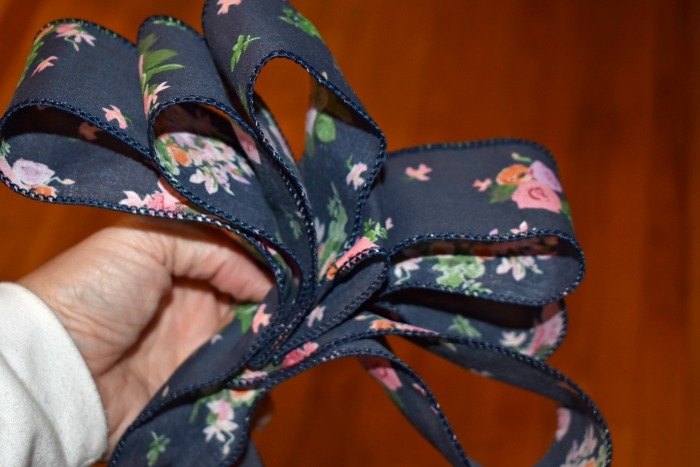
 Now that you got the hang of it, try this one more time with another ribbon, only this time, make the loops even bigger.
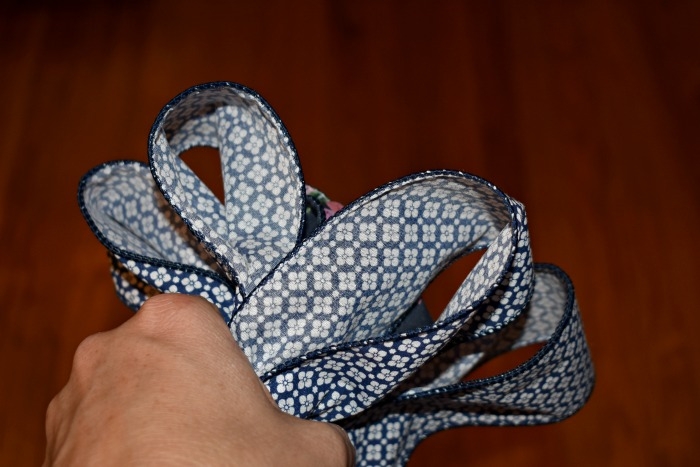 This larger ribbon will rest behind the first ribbon you made.
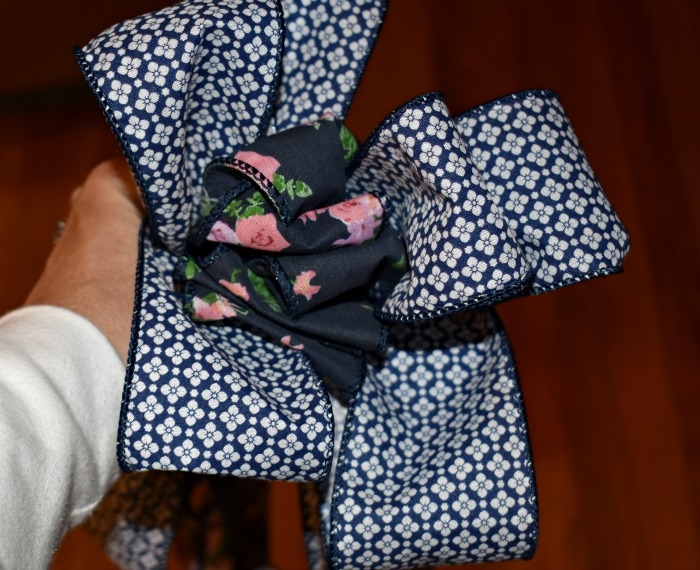 Go ahead and gather the two in the center, secure them tightly with the floral wire and give yourself a big pat on the back. You did it!
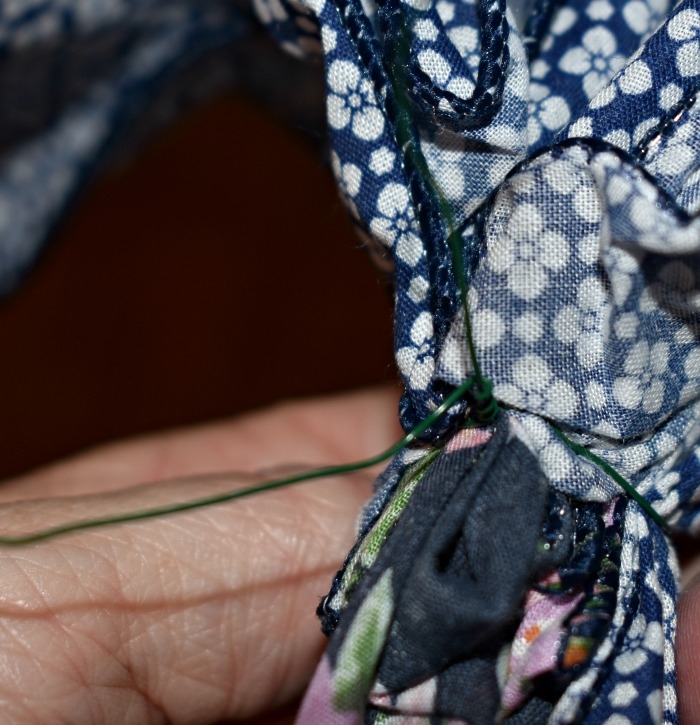 Find a spot on your wreath and secure it with the wire.
 Right now, this is not a finished bow. This looks like a pile of ribbon. And this is where the magic of the wire edges comes in.
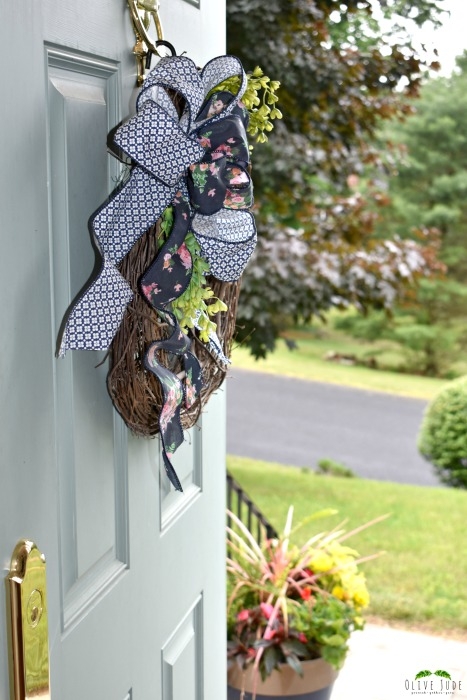
Rearrange the loops. Give them a little body and shape and some poof. Just like you do on a really good hair day. 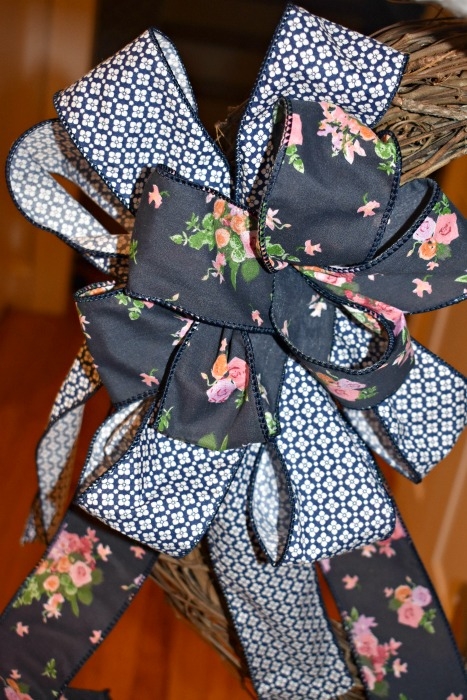 For a little extra pizzazz, try adding some faux floral stems or greenery. With your bow as an anchor, begin tucking the elements you have above and below the knot of the bow.
 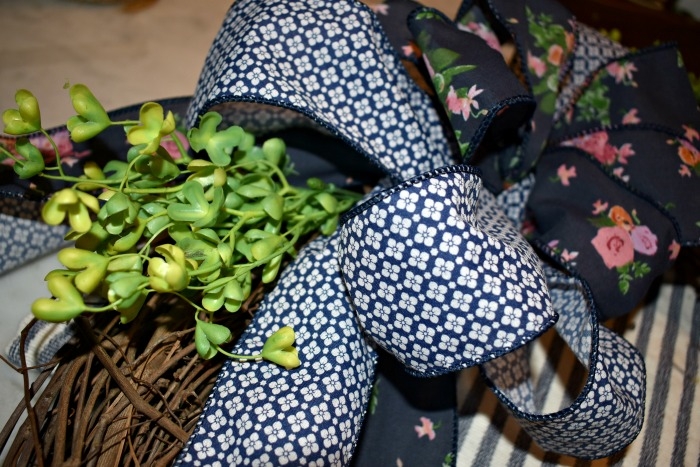 Don’t forget to trim the ends of your ribbon.
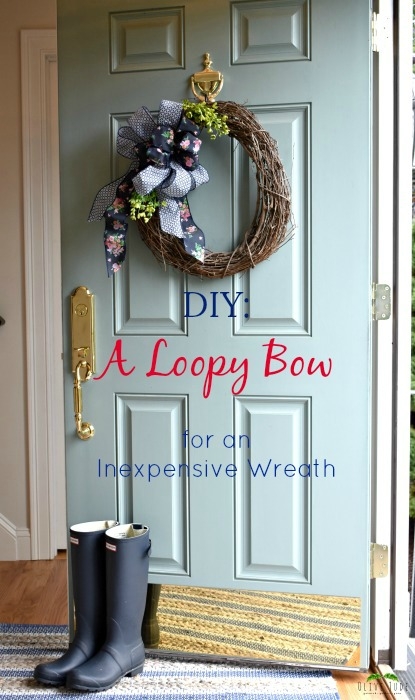
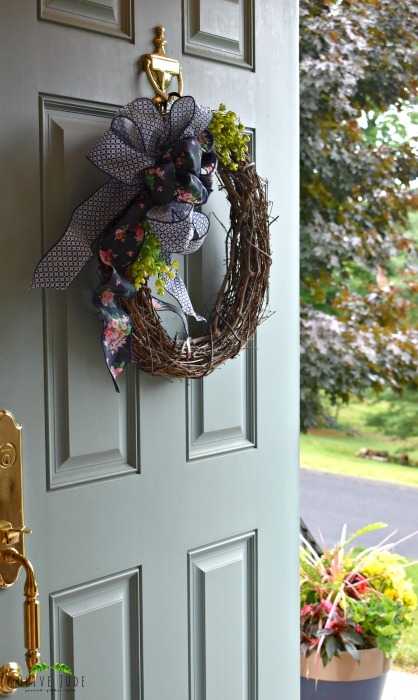
 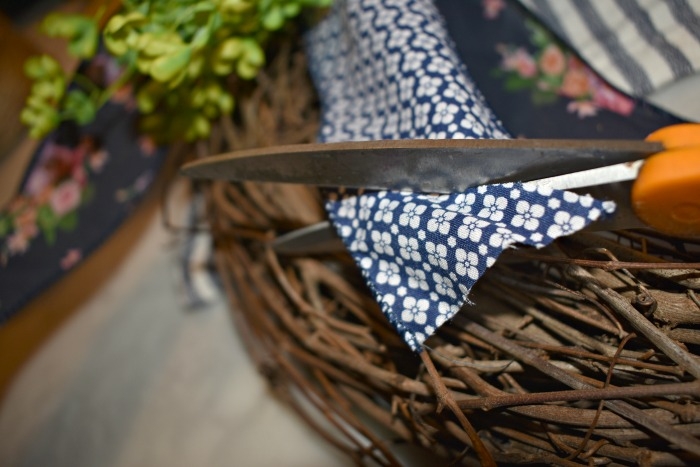 It’s ready to hang!
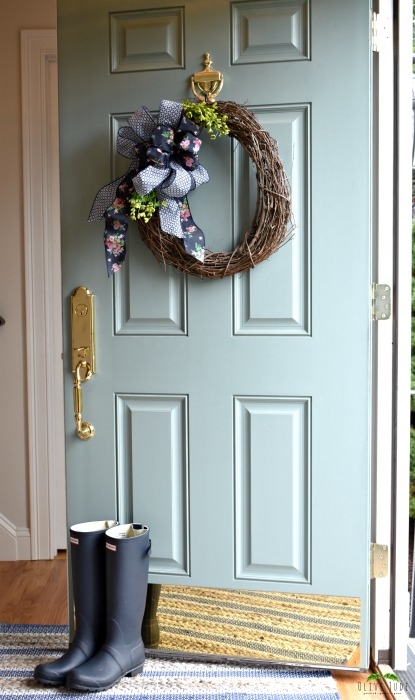
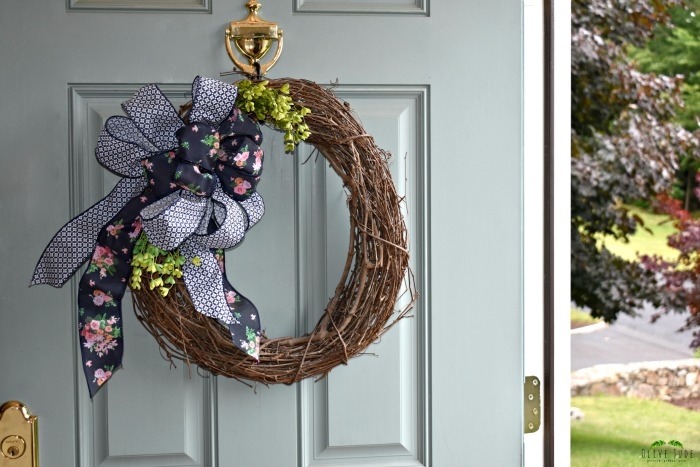 For very little cost, I have some new door decor. Repurposing what you already have and adding a new seasonal bow to it is a no-fail way to design an inexpensive wreath.
Check out my tutorial on how to make a Simple No Sew Bow.


This is so pretty and easy to make! I’ll have to add this to my list.
I craft and create but always stay away from bows because I totally suck at it. This bow, however, looks like something I could actually make! I am excited to give it a try!
Bow making is something I’d definitely need step by step instructions to even attempt, but I have a feeling my final product would not look anything like yours…..
This is such a good idea! I too hate paying big bucks for a wreath – I’ll have to put my crafting skills to good use!
This is beautiful and looks simple enough that I could make it. Thanks!
Thank you, Keri!
Very cute! Also, I love the commentary of the frustration that goes along with DIY projects lol.
Ha! Thanks! Yes, I find it is best to not have an audience during such projects. lol
I love making my own wreaths! I’m going to try to make this bow next time I’m putting a wreath together. I love the ribbons you picked!
Thanks, Sam! Hope it is easy peasy for you!
What a lovely and simple wreath!
Thank you!
Making bows is always the hardest thing. Think if I go slow and steady how you do it I could make this.
You can totally do this, Candy!
I love your ribbon choices! So cute and spring time fresh. Your front door too!! Love!
Thanks, Andy! Picking the ribbon is the best part!
I often struggle to get bows that are not lopsided, this is great. thanks. Pinning.
I hear ya! Just have to keep at it!
I love that the way you make your wreaths means you can always reuse the wreath base. So smart!!! Love this DIY and the especially the picture of the boots by the door ????
Thanks, Dawn! Love those boots too…
I love this!! The pattern mixing is PERFECT! And it looks amazing on your door!
Thanks, Hanna! I really like this line of ribbon from Michaels!
This is lovely, I haven’t made a wreath in years! Thank you for the inspiration 🙂
You are welcome! Have fun making your own wreath!
I love your front door and the hunter boots!!!!!
Thanks, Becky! Can’t live without those boots!
Such a fantastic looking wreath! Love how you decorating it with the big, blue bows.
Thanks! I’m a sucker for navy blue!
Beautiful. I will be trying this. Great idea.
Thanks, Nicol!!