
This content uses Affiliate links. Please read my disclosure policy for more info.
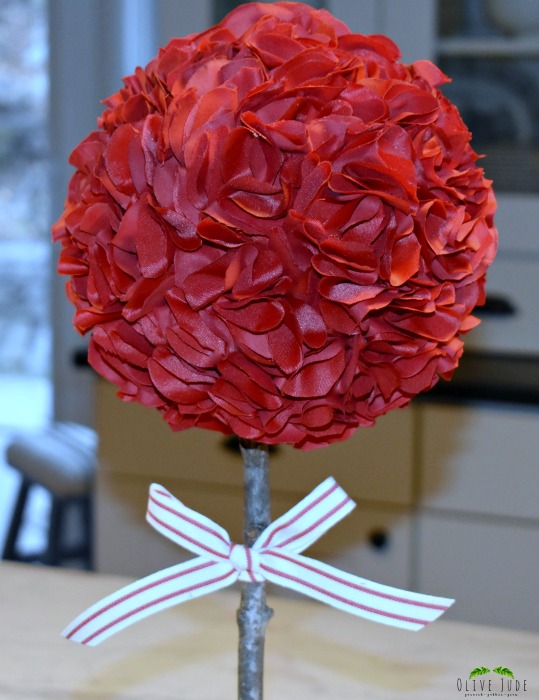
Love is in the air and Valentine’s Day is just around the corner so my girls and I made this simple, sweet and festive topiary.
I love DIY home décor that can be whipped up in one afternoon, yet looks like you hit the Homegoods jackpot! This is definitely one of my favorite little projects we have ever tackled.
I promise this DIY is easy enough for anyone to do! Follow along for a step by step guide to making your own topiary.
1. First, you’ll need your supplies.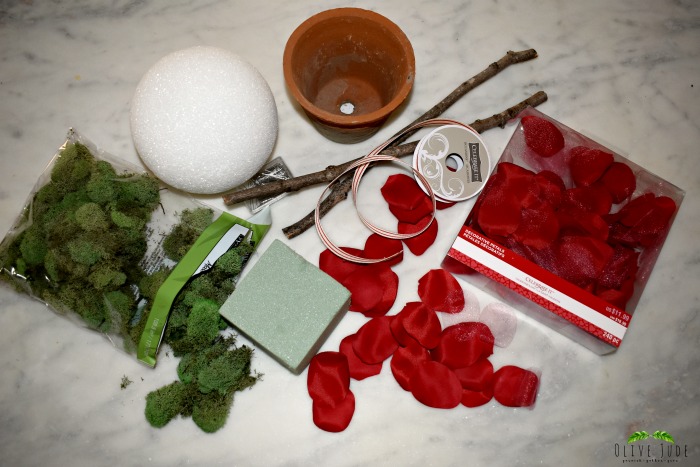 Pick your pot. This will help determine the size and height of your topiary. I had a 4 inch clay pot from Michaels that I was excited to use. You could also try using a metal bucket, a box shaped planter, a basket or any other container as the base. Be creative!
You’ll need a round styrofoam ball. I chose this 6 inch styrofoam ball. Make sure the size of the ball is bigger than the diameter of the pot opening. This will ensure that your topiary is balanced.
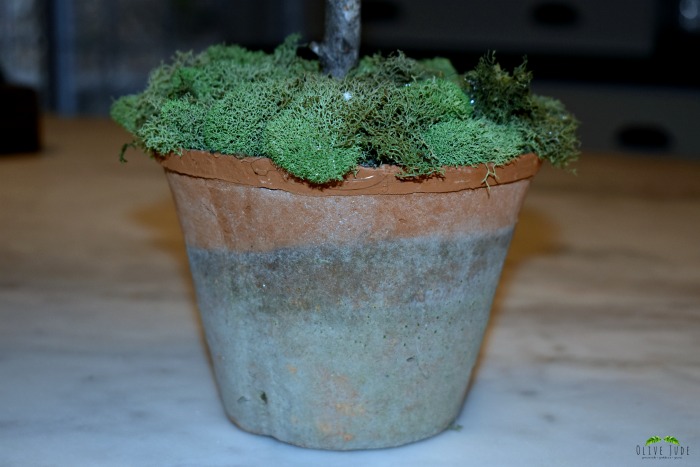
Next, you’ll need green foam to put in the base of the pot. Ideally, it would be nice to have a pot insert but I happened to have a green foam block on hand so I just shaped it to fit in my pot.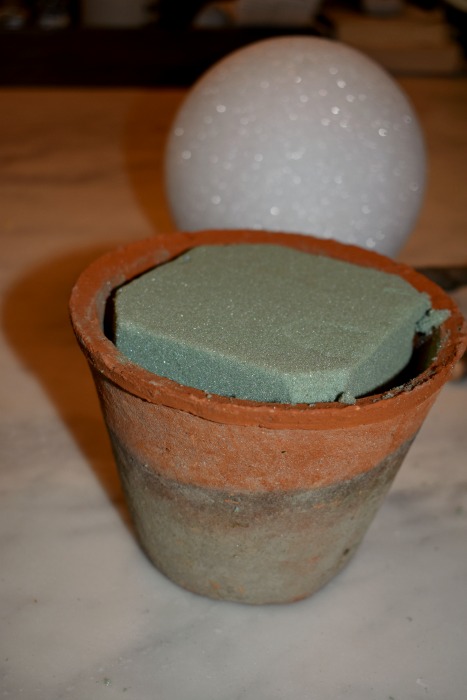 Now that you have the base and the top, you’ll need something to connect those pieces and serve as the stem. I wanted my topiary to have a natural quality to it, so I sent my honey in the backyard to fetch me a straight stick. It is perfectly adorable to also use wooden dowels and customize them with your own paint color. For this project, my stick was about 12 inches in length.
Pins! You’ll need tons of pins! I used Singer dressmaker pins and they worked perfectly.
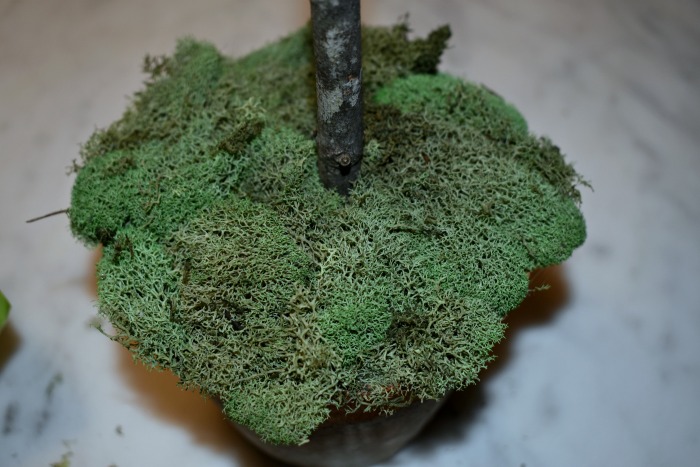
You’ll also need some beautiful moss to add a touch of nature and texture to the bottom. I could seriously get caught up in putting this beautiful moss everywhere. I love the color of this Chartreuse Reindeer moss but you could use any moss you like.
Finally, for the fun part! The lovely florally top! I considered using felt and cutting my own circles, but honestly, who has time for that? After much brainstorming, I thought it would be a resourceful idea to use decorative faux silk rose petals. Perfect for Valentine’s day and…I didn’t have to do any cutting! Winner!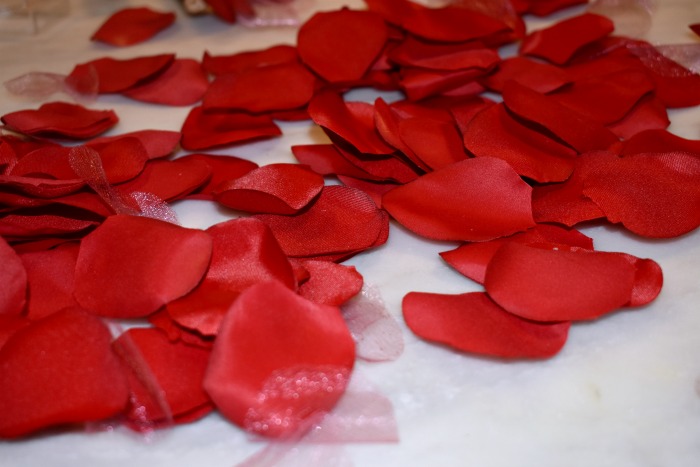 The only other thing you’ll need is a hot glue gun, so fire that up and get ready to add your petals.
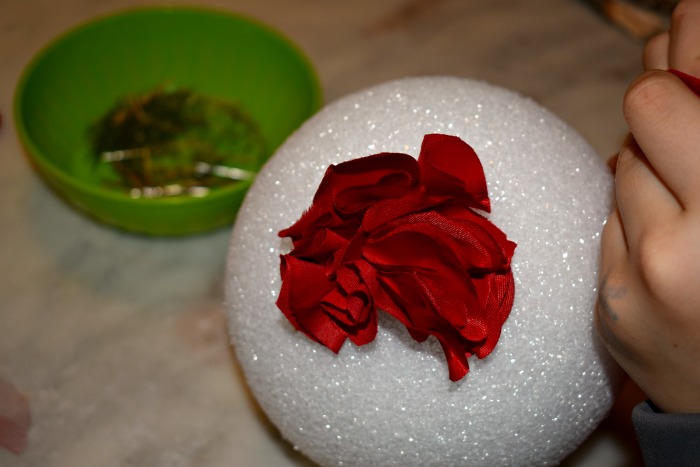
2. Get set up. Spread out your rose petals so you can grab them quickly. Add your pins to a bowl. If the supplies aren’t easy to grab, trust me, you’ll get sick of adding the petals very quickly.
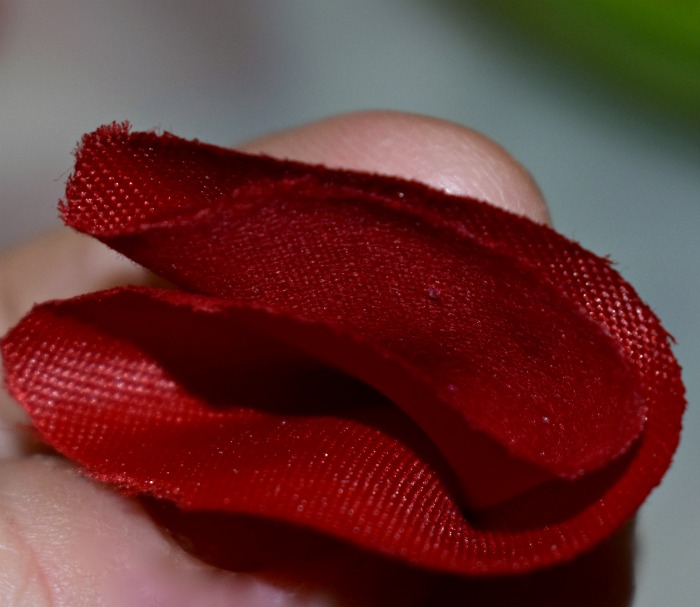
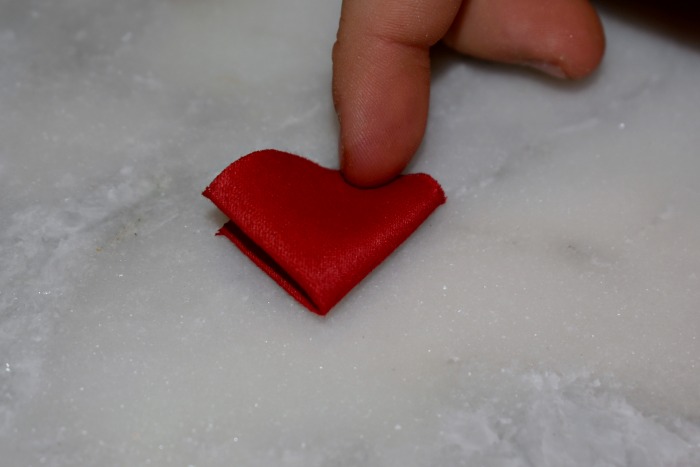
3. Take one petal and fold it in half lengthwise. Then fold it in half again so you make a triangle shape.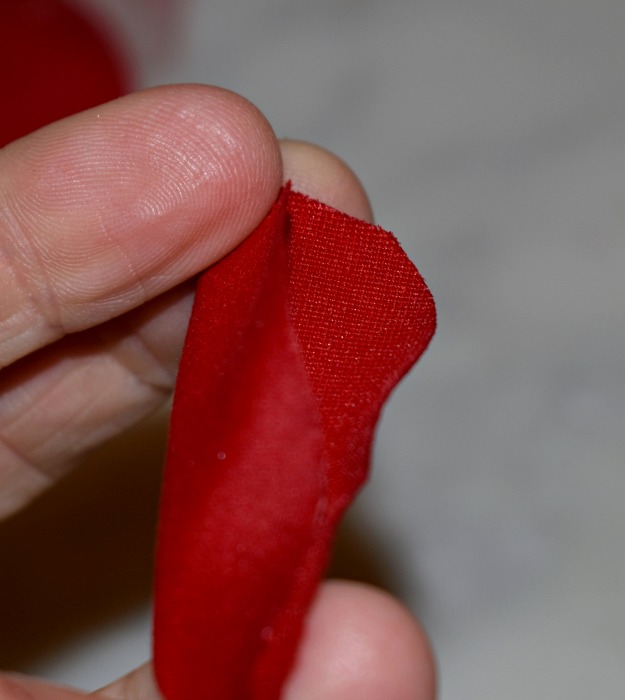
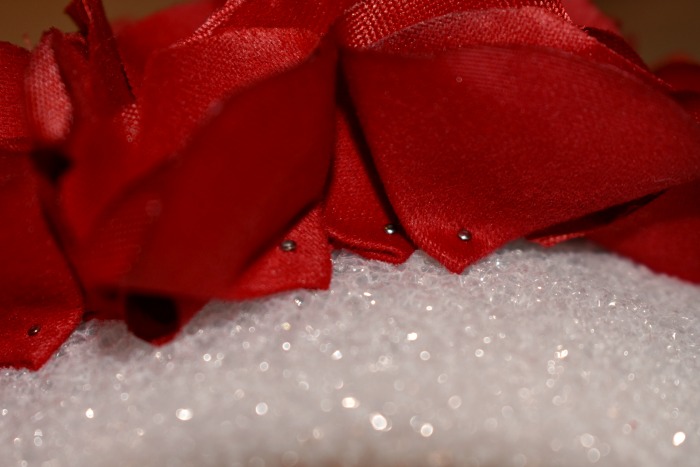
 4. Pierce the petal in the folded corner with your pin and push the pin into the foam ball.
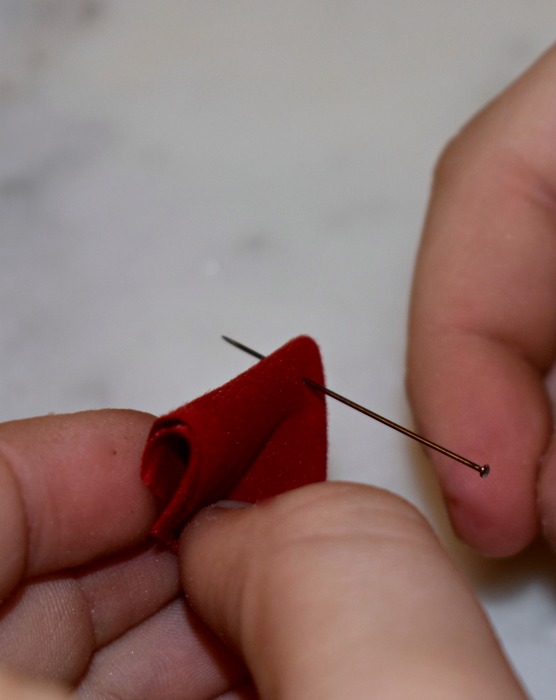
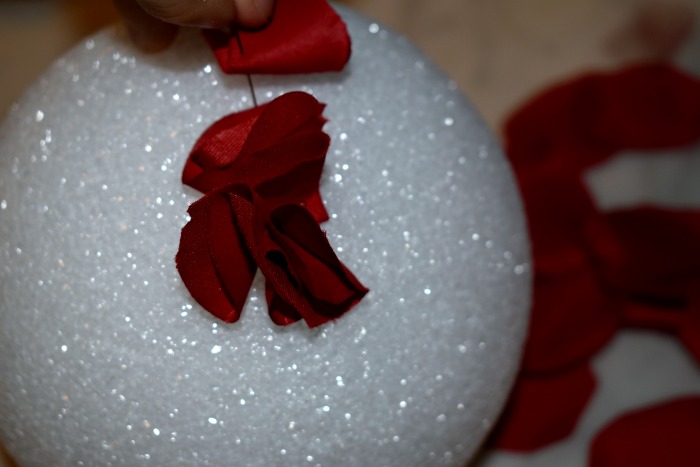 5. Repeat, making sure to place the petals close together so the petals “stand tall” and upright.

 6. 7. 8. 9. Repeat. Repeat. Repeat. Repeat.
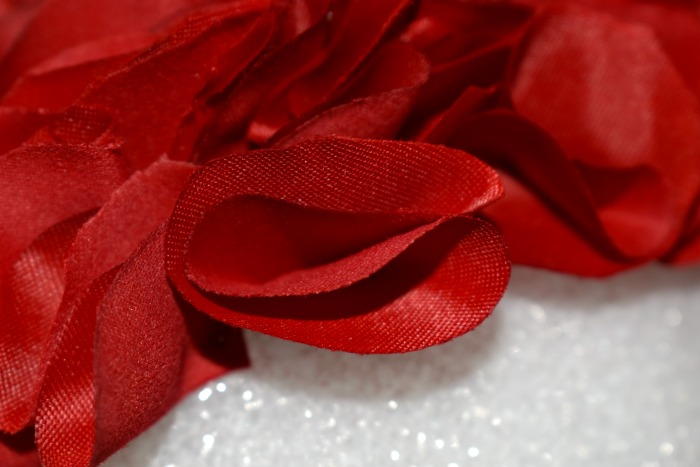 My girls started off the project and really enjoyed it! But about halfway through, they ditched me. So, I poured myself a glass of wine and realized I could put 2 petals on a pin at a time.
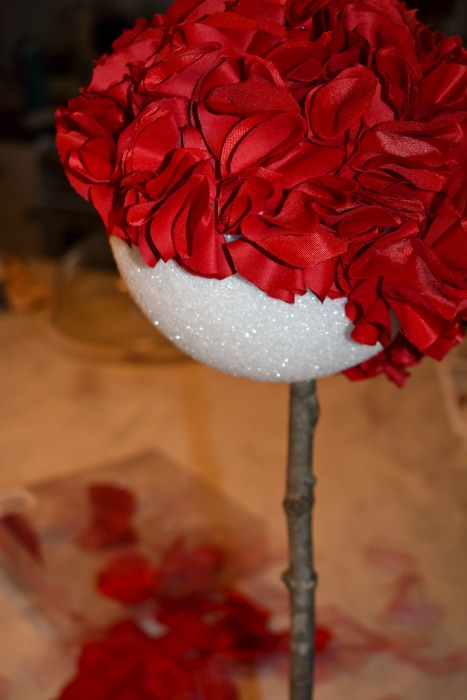
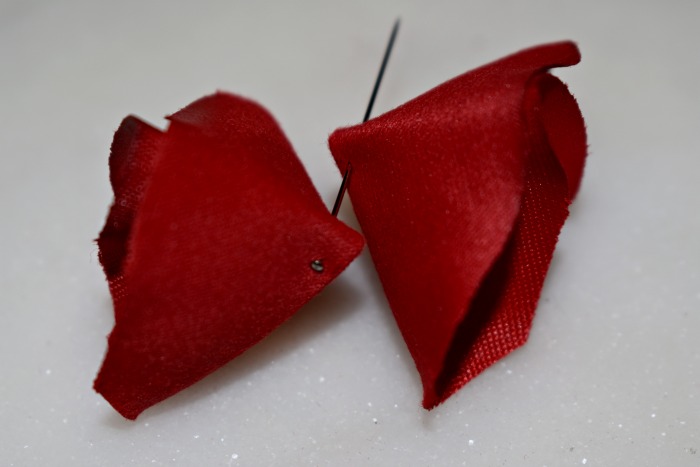 10. Once the ball was almost entirely covered, I decided to go ahead and add the stem. I punctured both pieces of foam with the stick and continued on with my petals. (and I think I started to see actual red spots because I added 500 petals to this topiary!)
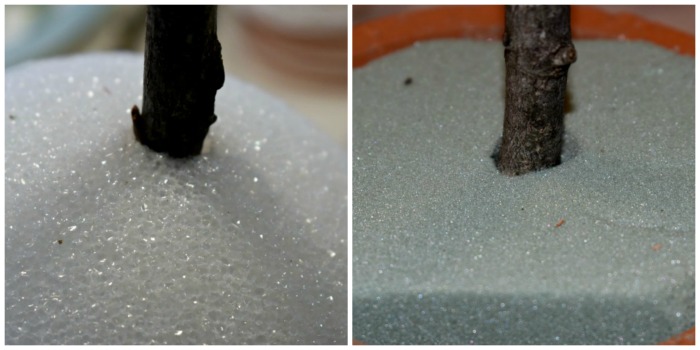
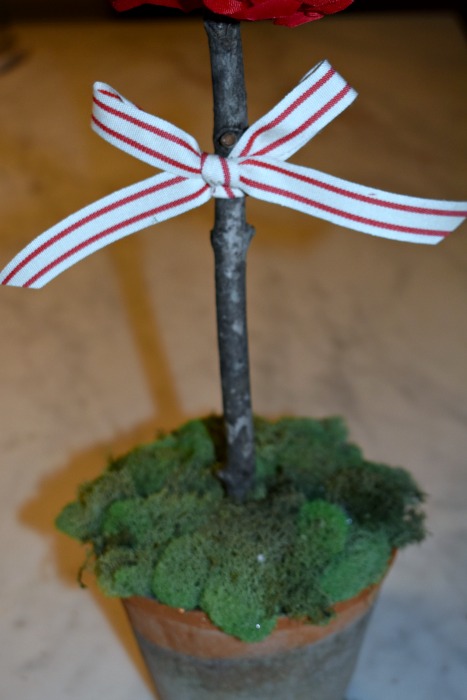
 11. Using hot glue, attach the moss. So easy and adds so much to the decor piece!
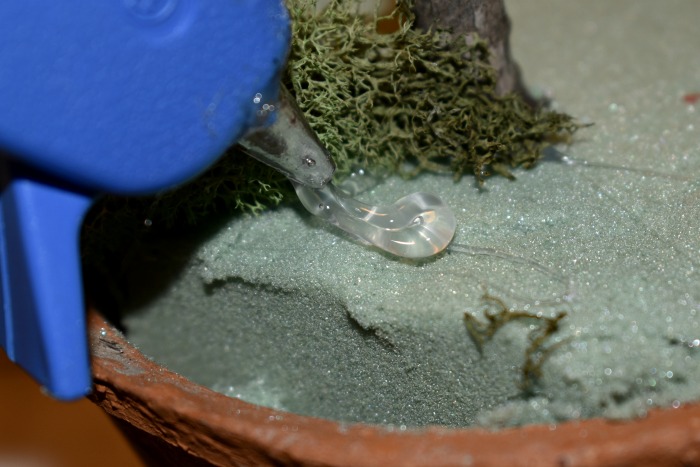
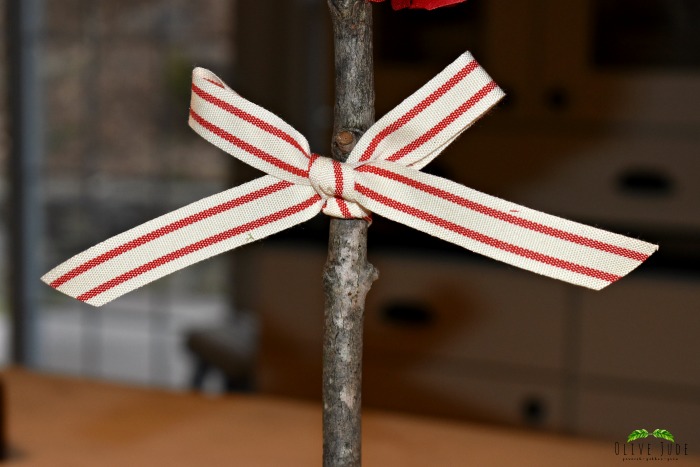
 12. For a special little touch, add a bow to the stem using the ribbon of your choice.
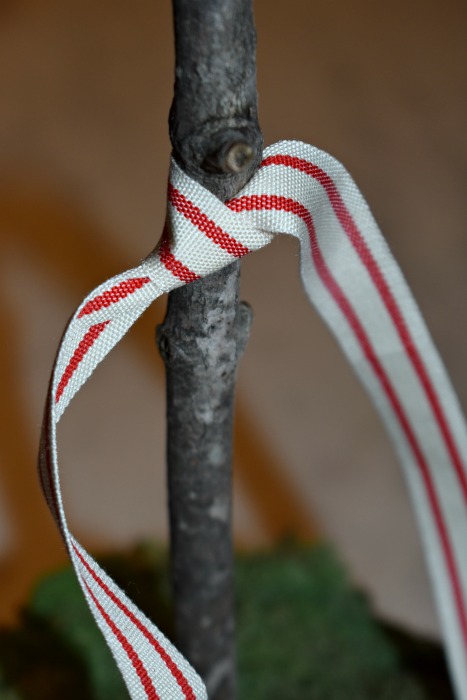
 When all the petals are attached, check for any white spots peeking through and twist or turn the petal to hide that spot.
Now, step back and admire! Isn’t it fantastic!?
 I love the way the rose petals look! They add so much depth to the topiary because one side is shiny and the other is matte.
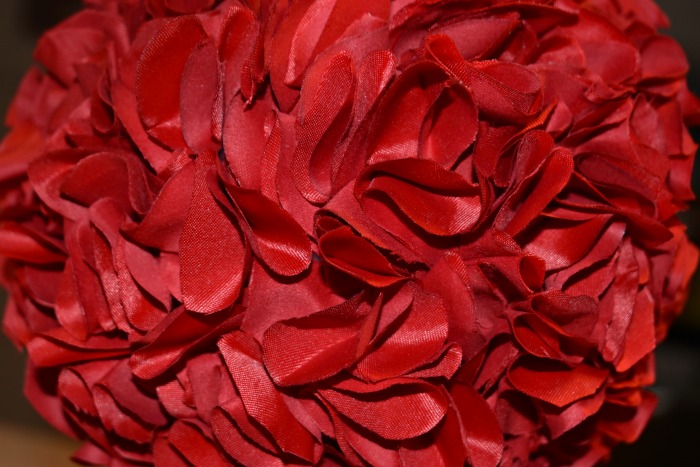 The hardest part of this project is deciding where to place it when it is done.
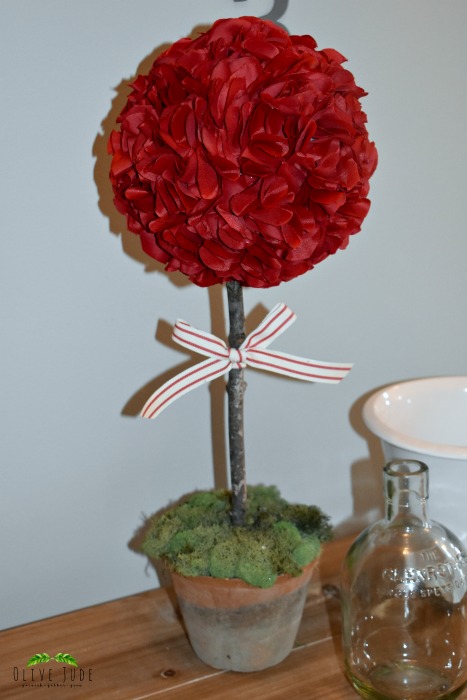
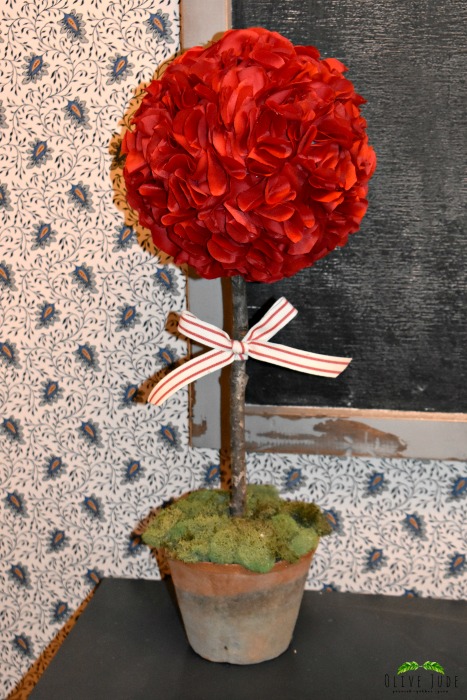
 Do you have a DIY Valentine decor idea?
This content uses Affiliate links. Please read my disclosure policy for more info.
Shopping List
- 6 inch styrofoam ball
- pot insert or a green foam block
- wooden dowels
- Singer dressmaker pins
- Chartreuse Reindeer moss
- faux silk rose petals
- Small pot
- Hot glue


This turned out so cute!! love it!
I love how simple this silhouette is! It’s such a beautiful decoration!
I love the way you show it step-by-step and the final result is so beautiful! You’re very creative and talented. Thanks for an inspiration.
So glad it was helpful! Thanks so much for your feedback!
That turned out so cute! My mom used to do things like this all the time. 🙂
What a beautiful, simple centerpiece! It would look great on my mantle. I keep seeing projects I want to do that require a glue gun…time to buy one ????
This is adorable and it looks so easy! I’m thinking it will be an excellent Galentine’s Day party activity.
How beautiful is this? So a gorgeous DIY project! I am not very crafty but your post makes it looks achievable! I can’t wait to try it!
I’m so glad! Thank you!!!
I have seen these made and they are really pretty. Somewhat time consuming but friends tell me they work on them while watch tv. Really easy to make.
It is a bit time consuming but relaxing at the same time.
How cute! I just may have to try making it this weekend!
Thanks, Linda! Go for it! Enjoy!
This is the cutest! Not only is it a beautiful craft for Valentines Day, but I would totally leave this up all year long! Probably because red is my favorite color! It’s so vibrant and striking.
You definitely could leave this up beyond Valentine’s Day! Thanks for stopping by!
That is too cute! I could see all that pinning becoming kind of a relaxing way to unwind a bit.
It actually was, despite the finger pokes here and there. lol
Wow, I love this idea! It’s so clever and creative. 🙂 Can you believe Valentine’s Day is coming up so fast?
Thanks, Latasha! I can’t believe February is here!
This is adorable and doable! Off to Michaels, lol!!! Good thing they have a teacher discount:) Thank you for sharing!
Aw, thanks! Lucky you! Don’t forget to pull up the weekly coupons too! Have fun!
Awesome !! Really beautiful and so clever. You must take after someone we know.
Love you…..
I learned from the best…
This is gorgeous! I think I could throw in my ear buds and blast through some podcasts while pinning all of those petals. Love all of the detail in this tutorial and the handy shopping list and the end too – thank you!
Thank you! Happy you liked this…pinning the petals is oddly relaxing. Listening to a podcast while pinning sounds like the perfect idea! Maybe a glass of wine too? 🙂